You can use the Carrier Event Maintenance feature in techTRACK to customize how tracking events provided by carriers are mapped to internal system statuses.
This guide explains how to create custom mapping rules, edit existing ones, delete customizations, and manage bulk updates via import and export.
 NOTE: These procedures require specific user permissions. Refer to techTRACK User Permissions Structure [Information] to verify your access rights.
This article is divided into the following sections:
- Overview and Configuration
- Understanding Event Types
- Event Properties
- Access and Filter Events
- Create, Edit, and Delete Mappings
- Create or Edit a Mapping
- Delete a mapping
- Export and Import Events
- Export Events
- Import Events
I. OVERVIEW AND CONFIGURATION
Before managing events, it is important to understand the types of rules available and the configuration fields that define their behavior.
i. Understanding Event Types
There are two types of event mappings in techTRACK:
- System:
Global defaults automatically created when data is received from supported carriers. You cannot manually create a System event, but you can override it to create a Customer event.
- Customer:
Personalized overrides created by users. These apply only to the specific accounts you configure and take priority over System rules.
ii. Event Properties
The following properties define how an event is processed and displayed. Each property corresponds to a UI field and may be conditionally displayed, depending on your settings:
- Info
- Carrier (Read-only): The specific carrier associated with the event.
NOTE: You may see carriers that are not part of your active techSHIP subscription. While you can edit mappings for these unsubscribed carriers, your changes will have no effect on your workflow. - Type (Read-only): Indicates if the rule is System-defined (default) or Customer-defined.
- Matching By Event Code (Read-only): Indicates whether the system matches the event by the carrier's Event Code (Yes) or by the Event Name (No).
- Carrier (Read-only): The specific carrier associated with the event.
- Event
- For all accounts: Determines if the rule applies to all accounts in the portal (Yes) or only to specific selected accounts (No).
- Accounts: The specific list of accounts to which the rule applies (visible only when For all accounts is set to No).
- Event Type: The internal techTRACK status mapped to this event.
- Event Status: Defines the severity or category of the event.
- Visibility: Controls who can view the event.
- Event Code (Read-only): The unique identifier code for the event provided by the carrier.
- Event Name (Read-only, unless RegEx Enabled is active): The original name of the event provided by the carrier.
- Custom Event Name: The description displayed in the UI. By default, this matches the carrier's text, but you can customize it.
- RegEx Enabled: Select Yes to use a Regular Expression pattern in the Event Name field.
NOTE: When enabled, the pattern takes priority over standard matching, allowing you to map multiple variations of a carrier event to a single rule.
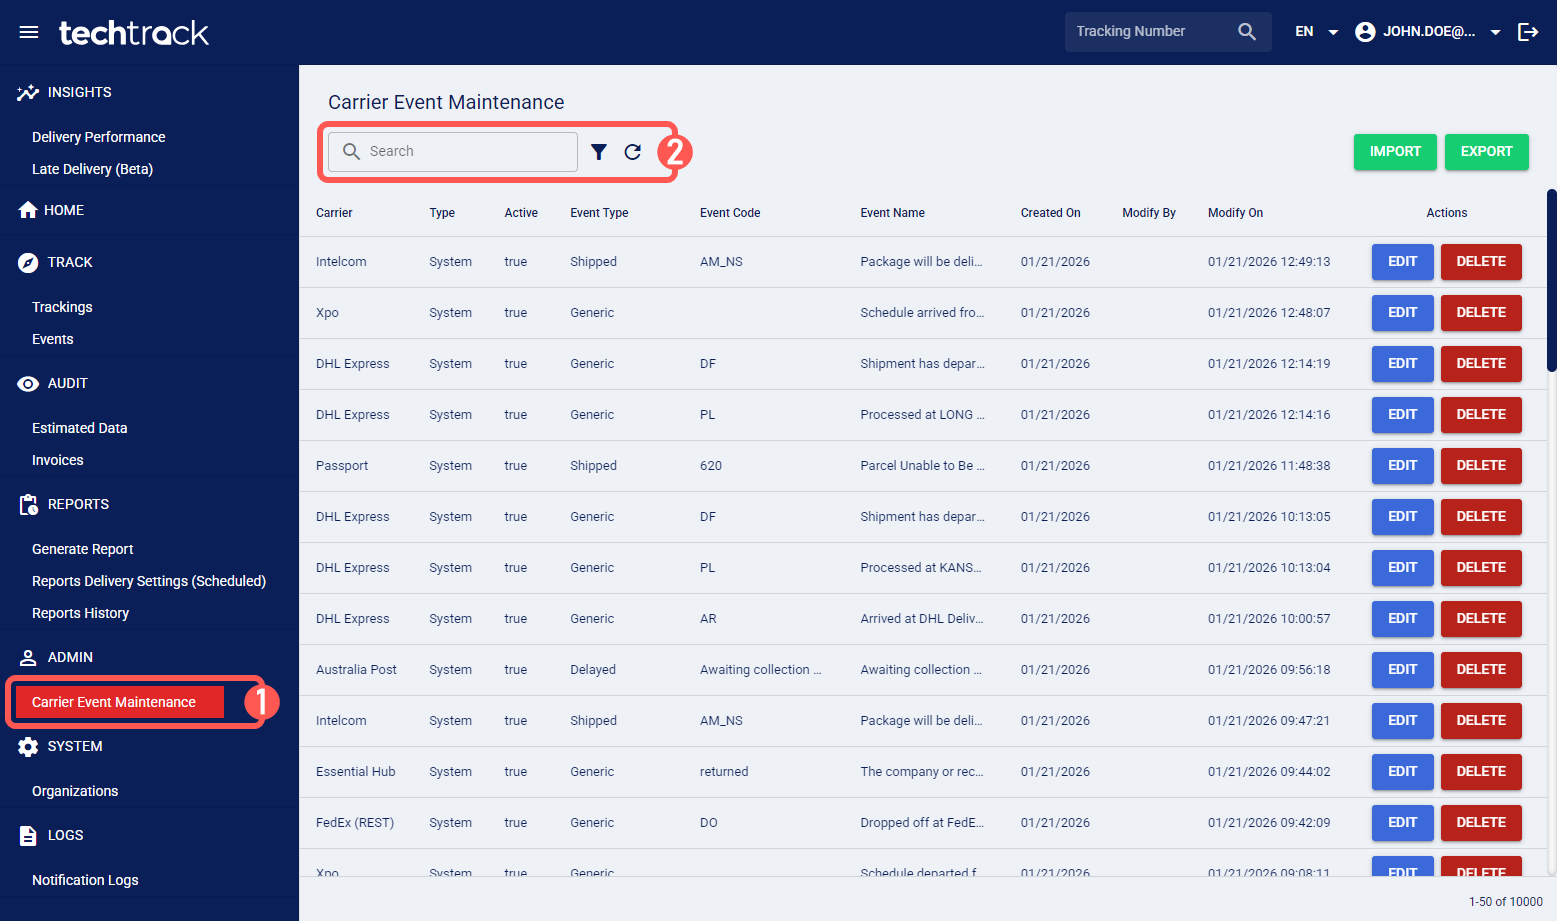
II. ACCESS AND FILTER EVENTS
1. Click Carrier Event Maintenance from the left menu under the Admin section.
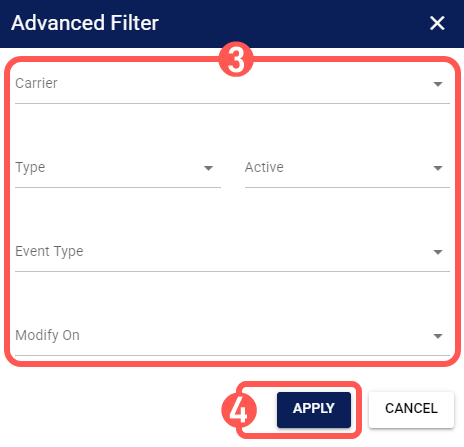
2. Use the Search bar to find events by Event Name or Event Code; or click on the filter icon to apply an Advanced Filter.
3. Modify any of the provided fields as needed.
NOTE: To learn more about available fields, see I.ii Event Properties.
4. Press Apply.
III. CREATE, EDIT, AND DELETE MAPPINGS
To create a personalized mapping (Customer rule), you must edit an existing System event.
Follow section II. Access and Filter Events to locate the desired event and continue in the subsection that best suits your case.
i. Create or Edit a Mapping
When you edit a System event, techTRACK preserves the global default and automatically creates a new Customer event that applies only to your selected accounts.
 WARNING: If you edit a System event that you have already overridden, the system updates the existing Customer rule rather than creating a duplicate.
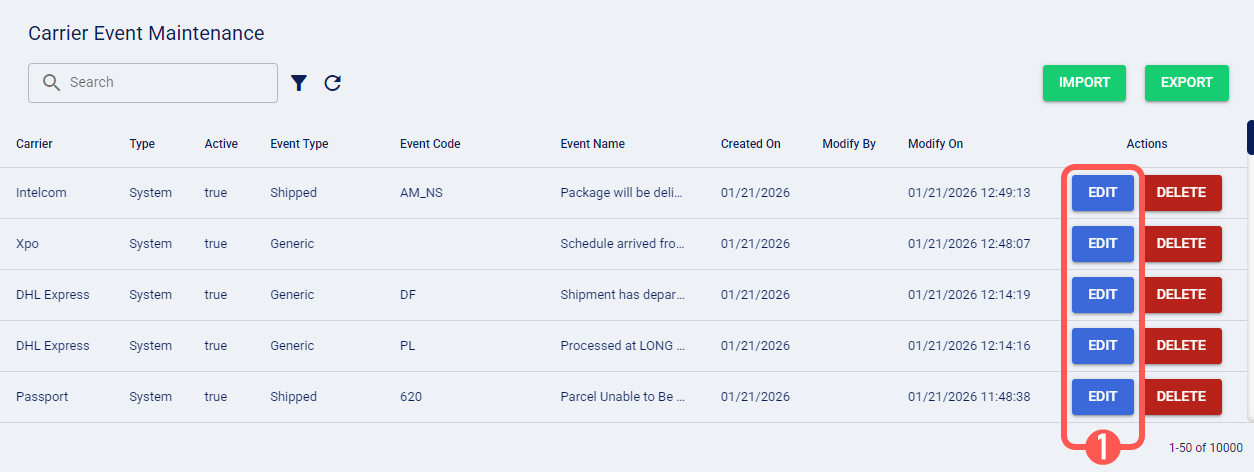
To customize an event mapping:
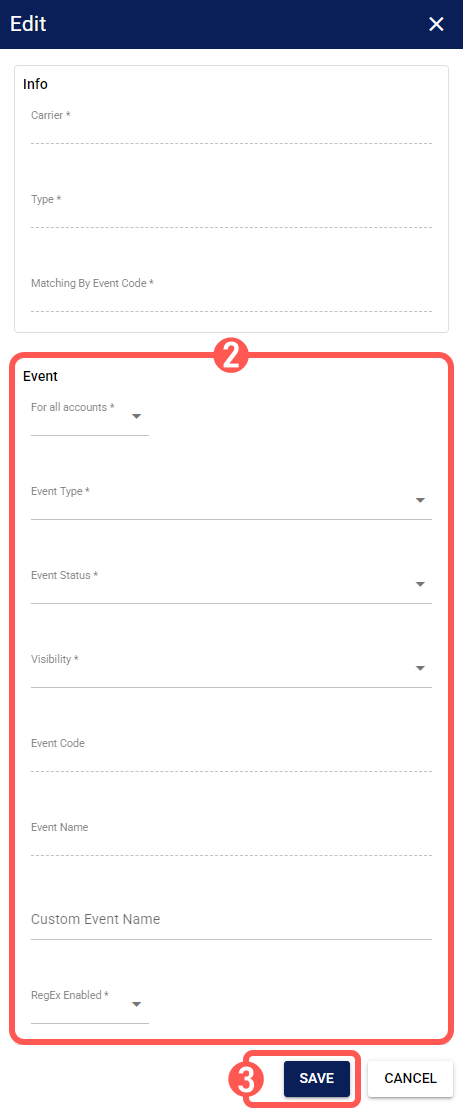
1. Press Edit.
2. Modify the necessary fields.
NOTE: For definitions on available fields, refer to I.ii Event Properties.
3. Press Save.
The mapping is updated immediately. Future tracking updates for the selected accounts will use your custom logic instead of the system default.
ii. Delete a Mapping
You can delete Customer rules to revert their logic and use the default System rule for that event.
NOTE: System rules cannot be deleted, as they are required for global defaults.
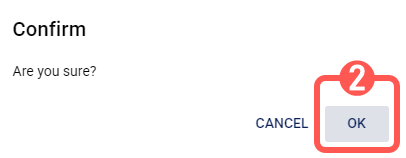
1. Press Delete.
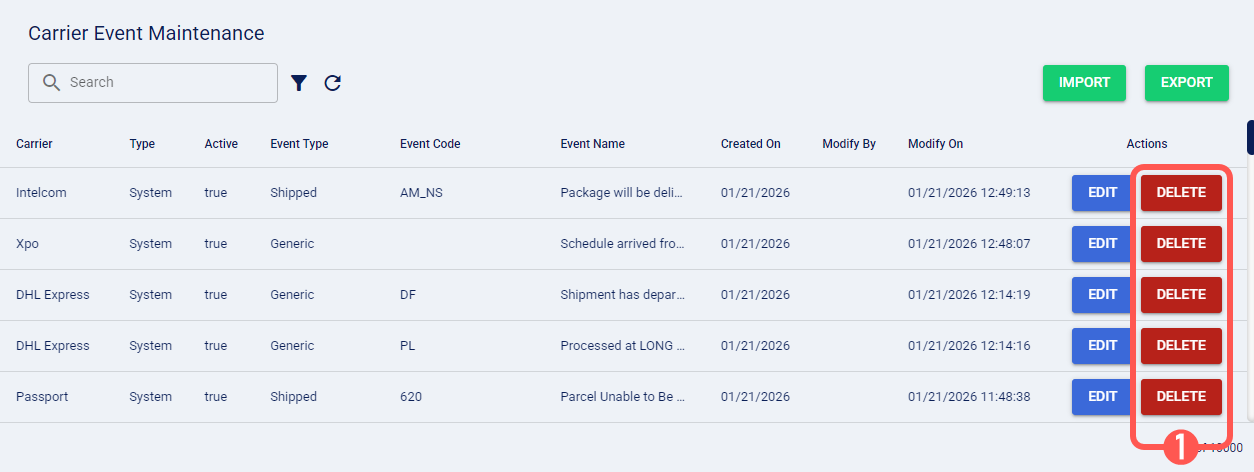
2. Click OK.
IV. EXPORT AND IMPORT EVENTS
Follow section II. Access and Filter Events for instructions accessing the Carrier Event Maintenance page and continue in the subsection that best suits your case.
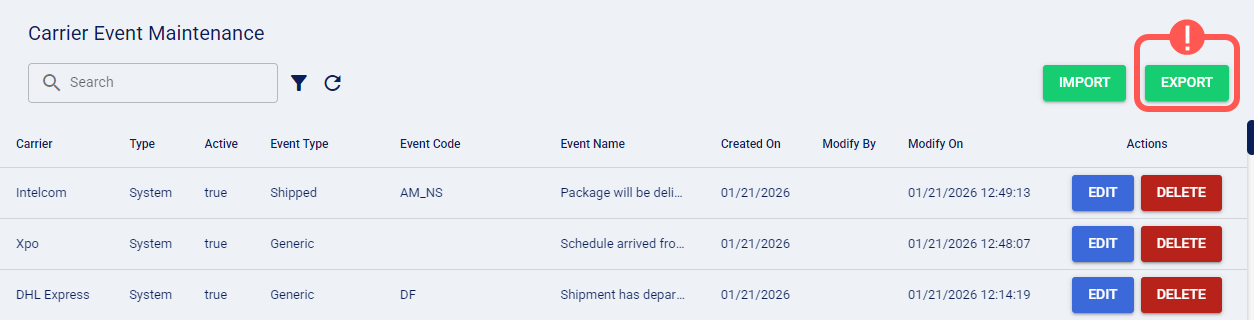
i. Export Events
Press Export to download a CSV file containing all current rules.
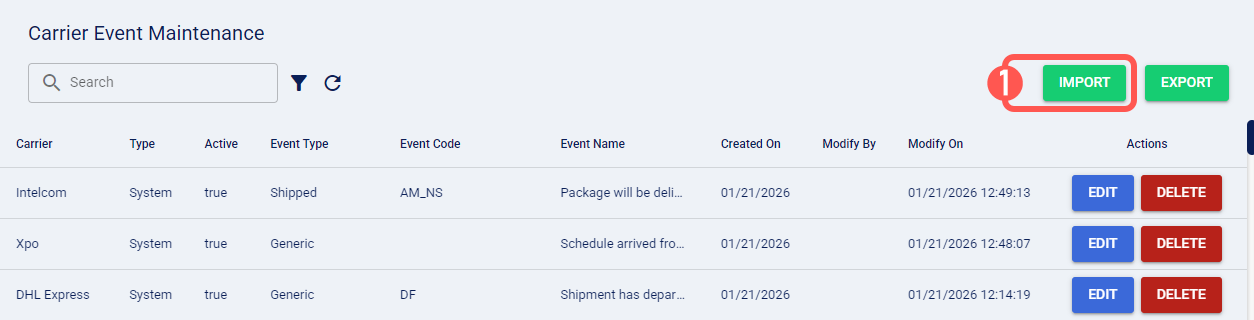
ii. Import Events
The Import function allows you to bulk-create Customer rules that apply to All Accounts only; rules cannot be assigned to specific accounts.
To enable RegEx-based matching, set the Matched By Event Code column to No in the import file, then manually edit the imported rules to configure the required RegEx logic.
WARNING: The CSV import schema differs from the export format. Do not use an exported file as a template. Always download and use the provided import template, as described below.
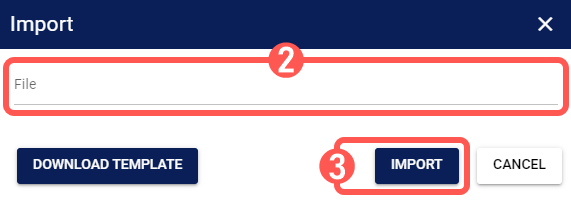
1. Press Import.
2.Click File to select the CSV file to import from your computer.
NOTE: To download a CSV template file for import, press Download template.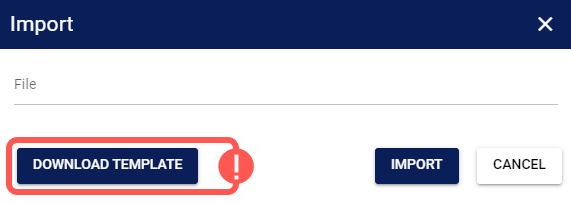
3. Press Import.
The list updates to show the new Customer rules, which are applied immediately.